Estimated reading time: 8 minutes
If you want to Update the Unified Access Gateway Appliance (UAG), You have two methods:
1- Update it Manually.
2- Update with PowerShell.
In this post, I talk about updating UAG with PowerShell.
What is UAG?
Unified Access Gateway equips remote workers anywhere, anytime with secure access to Horizon virtual desktops and applications.
How can I update it?
UAG doesn’t have an update engine solution on itself. You must install it again from scratch, and replace the configuration on it. You must spend more time installing it again. But you can use the PowerShell script for quick deployment.
What is the requirement?
1- You need to download Unified Access Gateway (UAG) PowerShell Scripts.
2- You need to download the INI file of the UAG configuration.
3- You need to download the OVF Tool. (The PowerShell deploy script requires these tools)
Procedure:
Step 1- Download the OVF Tool from Here.
I downloaded the OVF Tool for Windows 64-bit.

1-1 -Install the OVF Tool on the VM where you are going to run the UAG Deploy script.

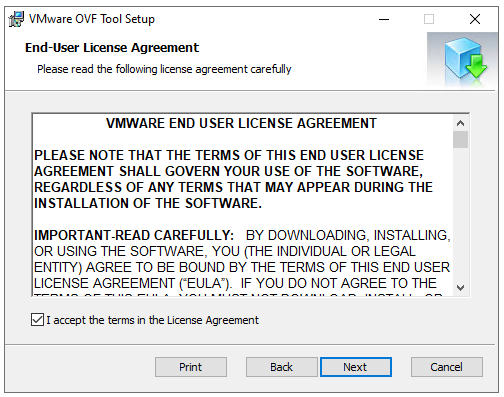
1-2 – Click Next, after that:

1-3 – I accept the terms in the License Agreement. Then:
1-4 – Choose the destination Folder, Then:

1-5 -Install it.
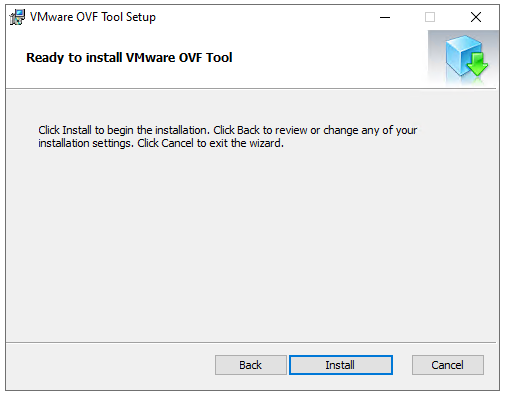
1-6- Finally, Click on the Finish button

Step 2– Download the Unified Access Gateway OVA from the Customer Connect portal to your machine.
You download the latest version.

Step 3– Create an INI configuration file for the Unified Access Gateway virtual appliance.
3-1 – Login to UAG server: https://UAG_Address_Server:9443/admin, Then:

3-2 – Click on the Configure Manually button, Then:

3-3 – In the Support Settings Section, Click on the INI and download it. Then:

Step 4– Download the Unified Access Gateway (UAG) XXX PowerShell Scripts files into a folder on the machine. The ZIP files are available on the Customer Connect page for the Unified Access Gateway.

4-1 – Extract the Zip file and copy and paste the UAG ova file and INI file here. Then:

Step 5– open UAG_Settings.ini, you need to configure these parameters:
5-1 – You can choose diskMode deployment is thin or thick:
diskMode= thin
5-2 – You must write the vsphere datastore name for deploying UAG OVA. Then:
ds= vsanDatastore
5-3 – Give a name for your UAG VM.Then:
name= khoshraftar-UAG01
5-4 – Enter the Backend Network port group.Then:
netBackendNetwork= Edge-PG-MGMT-V3001
5-5 – Enter the Internet Network port group.Then:
netInternet= khoshraftar-DMZ
5-6 -Enter the management Network port group.Then:
netManagementNetwork=Edge-PG-MGMT-V3001
5-4 – You must write the path of UAG OVA.Then:
source= C:\uagdeploy-23.09.0.0-22617266\uagdeploy\euc-unified-access-gateway-23.03.0.0-21401666_OVF10.ova
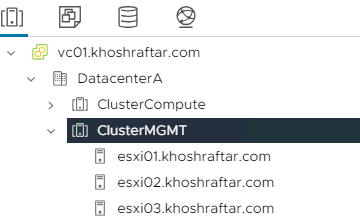
5-5 – You must write vCenter_name/ Datacenter_name/ host/ Cluster_name
(you must use host in your address)
target= vi://vc01.khoshraftar.com/DatacenterA/host/ClusterMGMT/
5-6 – If you have an error, you can change secureRandomSource from default to /dev/random
secureRandomSource= /dev/random
5-7 – save the INI file.
Step 6– Open PowerShell as administrator and use this command
& "C:\uagdeploy-23.09.0.0-22617266\uagdeploy\uagdeploy.ps1" -iniFile "C:\uagdeploy-23.09.0.0-22617266\uagdeploy\UAG_Settings.ini"
I use &, Because I have quotes in INI and PS1 path, PowerShell executes the path instead of just echoing the string.

6-1 – Enter admin user password for UAG, Then:

6-2 – Re-enter the admin user password for UAG, Then:

6-3 -Enter the admin user password for UAG Admin UI and Rest API, Then:

6-4 -Re-enter the admin user password for UAG Admin UI and Rest API, Then:

6-5 – For CEIP, enter no., Then:

6-6 – Accept SSL fingerprint, Then:

6-6 – Enter the Username and Password of the vCenter server, Then:

6-7 -Deploying Start, Then:


Finally, The transfer is completed.

For more information, use this link.
Finish 🙂
One thought on “Update the Unified Access Gateway Appliance Using PowerShell”